 Skip to content


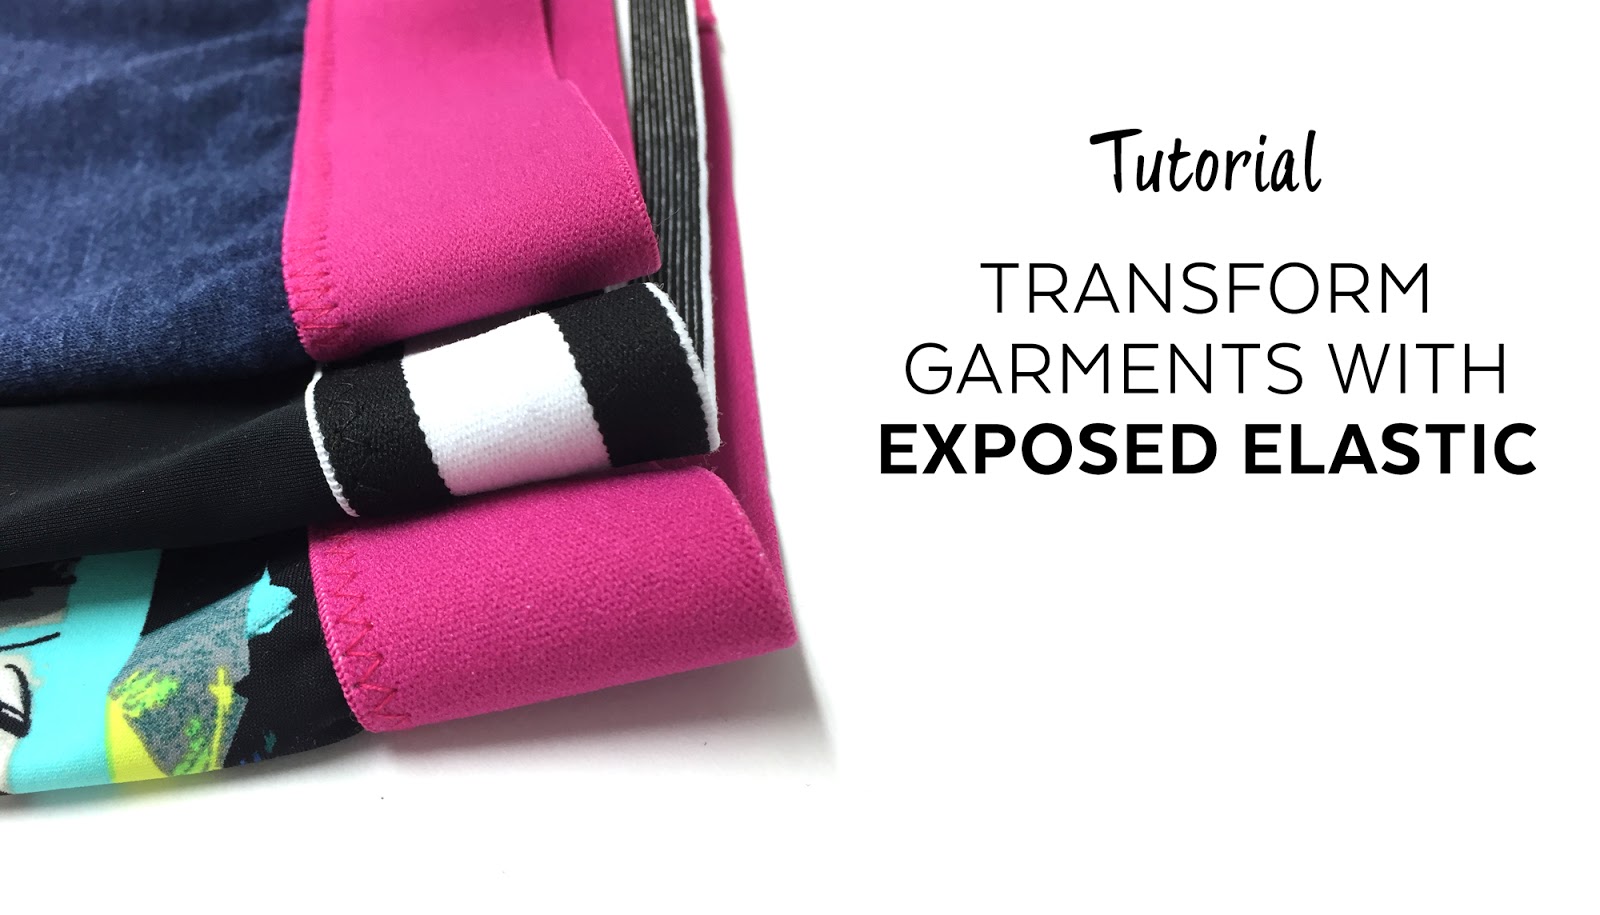
Show off Your Elastics!
Many garments are designed with an encased elastic because the technique is quick and easy. Also, it hides the plain elastic. Did you know that you can totally change the look of the garment by applying an exposed elastic instead? Here is how to do it!

The trend is getting more and more popular and goes far beyond the men's underwear world! You can use a wide exposed elastic on pretty much anything: shorts, top, leggings... Have fun!

You are a fan of the matchy-matchy sportswear kits? Use the waistband elastic to finish the bottom edges of a crop top / sports bra! Pattern 3247 includes both the tops and shorts. Make sure you use view D, which is the one designed for encased elastic on which the technique we show below can be used.

Finding soft elastic in the color / style you want might be the trickiest job. Your husband has an old pair of boxer briefs, the fabric is disintegrating but the elastic is still as good as new? Unstitch it and keep it in your sewing stash!
Wide elastics are more and more common in chains like Fabricville (Fabricland), Club Tissus, JoAnn and even Walmart. They come and go, when stock is available. Same for smaller local stores. Sometimes they get their hands on a small overstock from a local designer and have limited quantities. This means that whenever you see something you like, get it while you can!
Fore more selection, you will have to look online. Look for "waistband elastic" on Google and you will find elastic in different widths, styles and textured (jacquard, solid, plush...).
Here are some websites where we found interesting options:
Etsy
Bra-Makers
Emerald Erin
Aliexpress (allow many weeks for delivery)
To do so, look in the elastic chart to see for which elastic width was taken into account. On the Clara leggings (view B), the allowance is for a 2 cm (3/4'') elastic. Therefore, we trace a line 2 cm (3/4'') along the top edge of the leggings (where the elastic will go) and then cut to remove the extra paper :
Cut your fabric with that trimmed paper piece and cut your wide elastic to the length indicated in the chart for the size you are making. Assemble the garment, following the pattern instructions. For leggings, attaching the elastic will be the second-to-last step (before hemming).

The trend is getting more and more popular and goes far beyond the men's underwear world! You can use a wide exposed elastic on pretty much anything: shorts, top, leggings... Have fun!
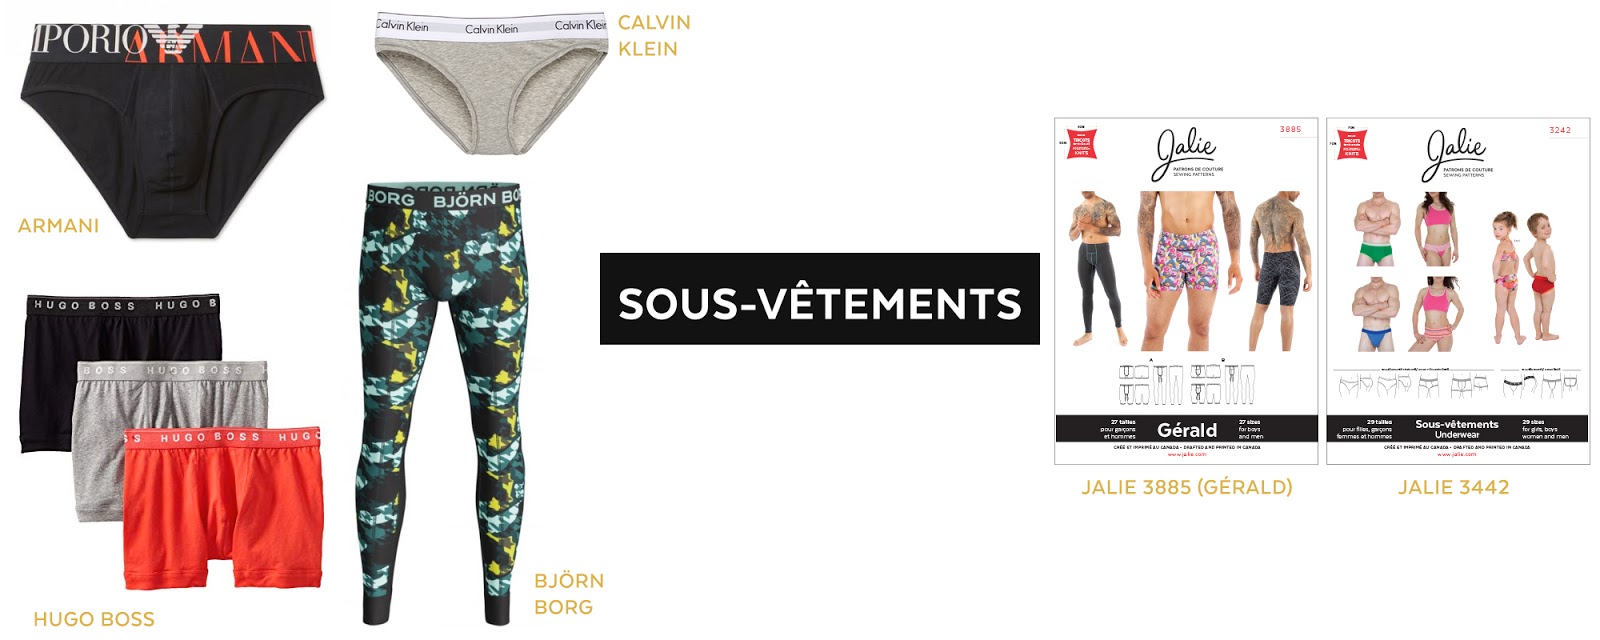
INSPIRATION / COMPATIBLE PATTERNS
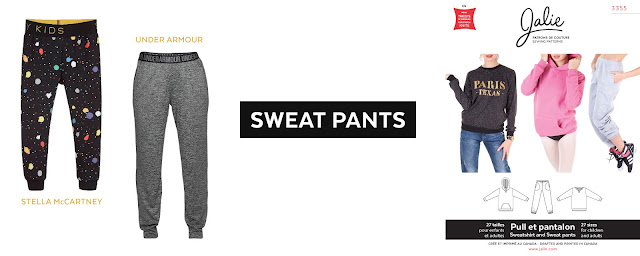
The exposed elastic is flatter than the casing on fleece sweatpants. 3355 would be the perfect pattern for that and can be used for boys, girls, men and women because of it's straight shape.

For decades, designers have been putting their logos on waistband elastics (remember that scene from Back to the Future? :)). The Gerald underwear pattern can easily be made with exposed elastic. Same thing for the women's bikini pattern in pattern 3242 (the men's briefs pattern is already designed for exposed elastic)!
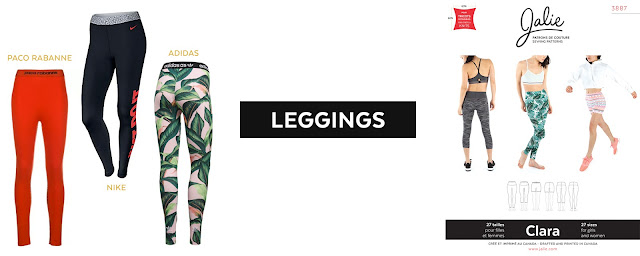
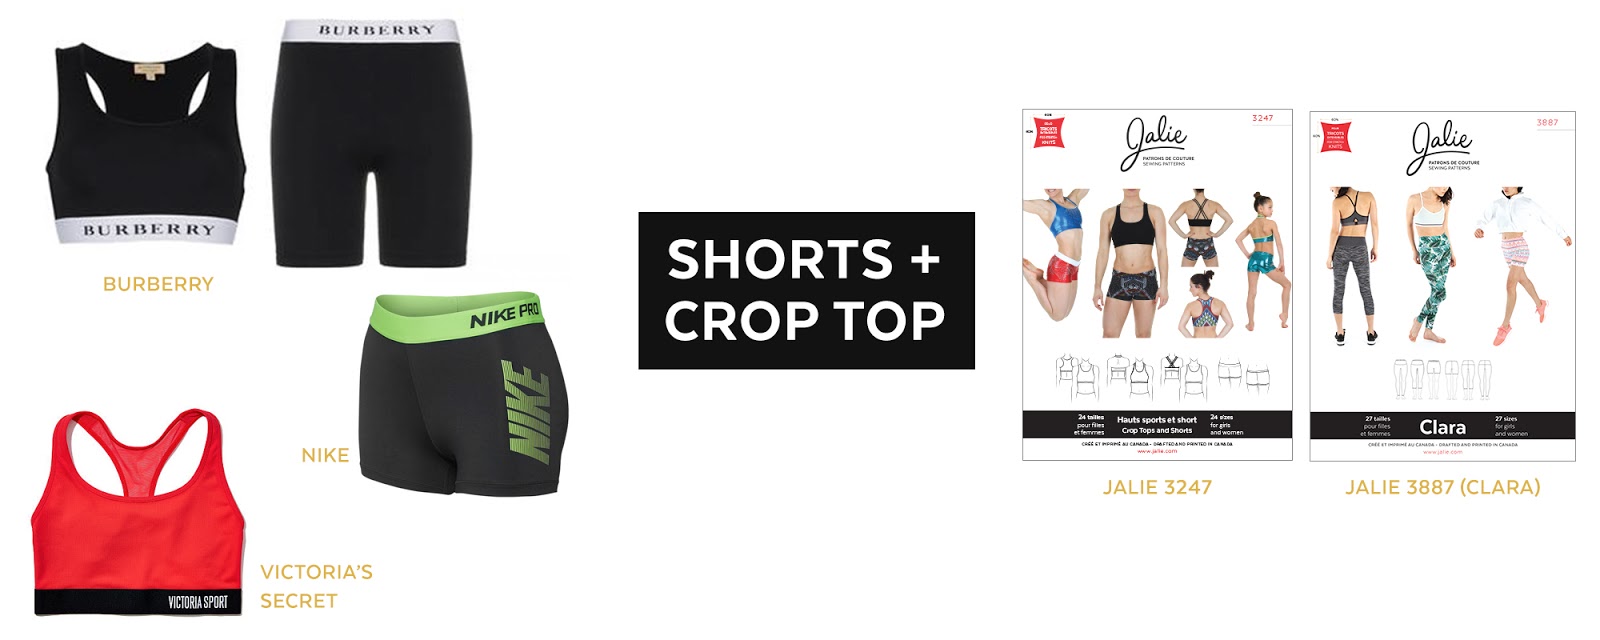
We see more and more sportswear brand using comfortable elastic featuring their logos for the waist. It promotes the brand but is also a fun way to add a pop of contrast color or print. This is something you can easily mimic with your favorite leggings pattern. The Clara, with is seamless front, or 2920 leggings would be great patterns for that.

You are a fan of the matchy-matchy sportswear kits? Use the waistband elastic to finish the bottom edges of a crop top / sports bra! Pattern 3247 includes both the tops and shorts. Make sure you use view D, which is the one designed for encased elastic on which the technique we show below can be used.
BEST PLACES TO BUY WIDE ELASTIC
Finding soft elastic in the color / style you want might be the trickiest job. Your husband has an old pair of boxer briefs, the fabric is disintegrating but the elastic is still as good as new? Unstitch it and keep it in your sewing stash!
Wide elastics are more and more common in chains like Fabricville (Fabricland), Club Tissus, JoAnn and even Walmart. They come and go, when stock is available. Same for smaller local stores. Sometimes they get their hands on a small overstock from a local designer and have limited quantities. This means that whenever you see something you like, get it while you can!
Fore more selection, you will have to look online. Look for "waistband elastic" on Google and you will find elastic in different widths, styles and textured (jacquard, solid, plush...).
Here are some websites where we found interesting options:
Etsy
Bra-Makers
Emerald Erin
Aliexpress (allow many weeks for delivery)
PREPPING YOUR PATTERN
Before you start sewing, you need to adjust the seam allowance. The pattern was drafted with extra fabric to create a casing. You have to remove it.To do so, look in the elastic chart to see for which elastic width was taken into account. On the Clara leggings (view B), the allowance is for a 2 cm (3/4'') elastic. Therefore, we trace a line 2 cm (3/4'') along the top edge of the leggings (where the elastic will go) and then cut to remove the extra paper :
 |
| (don't throw that piece away! You will need it if you want to eventually make a pair with encased elastic!!!) |
Cut your fabric with that trimmed paper piece and cut your wide elastic to the length indicated in the chart for the size you are making. Assemble the garment, following the pattern instructions. For leggings, attaching the elastic will be the second-to-last step (before hemming).
SEWING THE ELASTIC
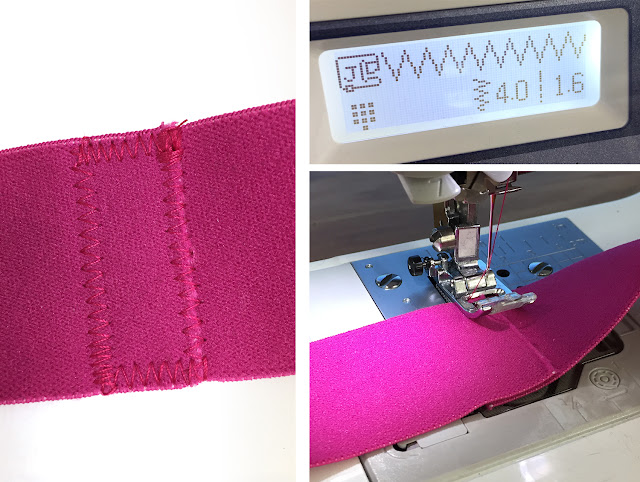
Overlap the ends of the elastic by approximately 1 cm (3/8''). Sew with a zigzag stitch as shown in the photo, starting along the raw edge of the elastic. This technique keeps the layers to a minimum and wraps the end of the elastic.
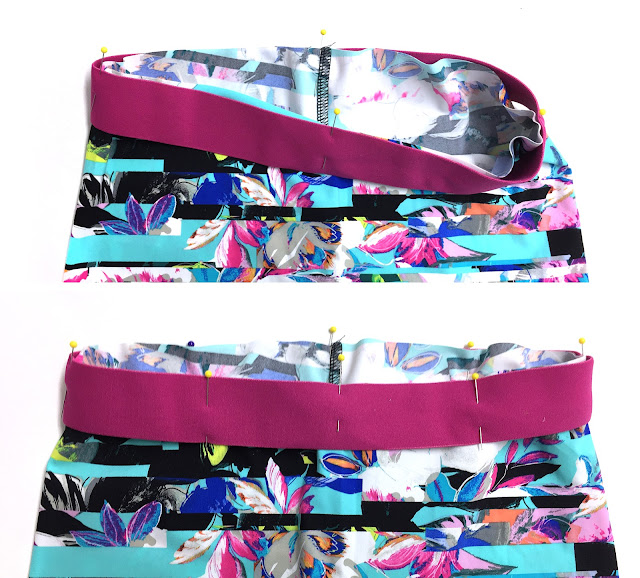
Now that your elastic forms a loop, mark half with a pin by folding at the seam. Bring the seam and pin together to mark fourths. Do the same with the waist opening, using center front and center back marks to find fourths.

Pin the wrong side of the elastic to the right side of the garment, matching the pins and aligning the top of the elastic with the edge of the opening.
Stitch on the elastic, along its bottom edge. You can use a zigzag stitch or cover stitch (or double needle) if you don't like the look of zigzags. Stretch the elastic between the pins so the fabric is flat against it. DO NOT stretch the fabric.
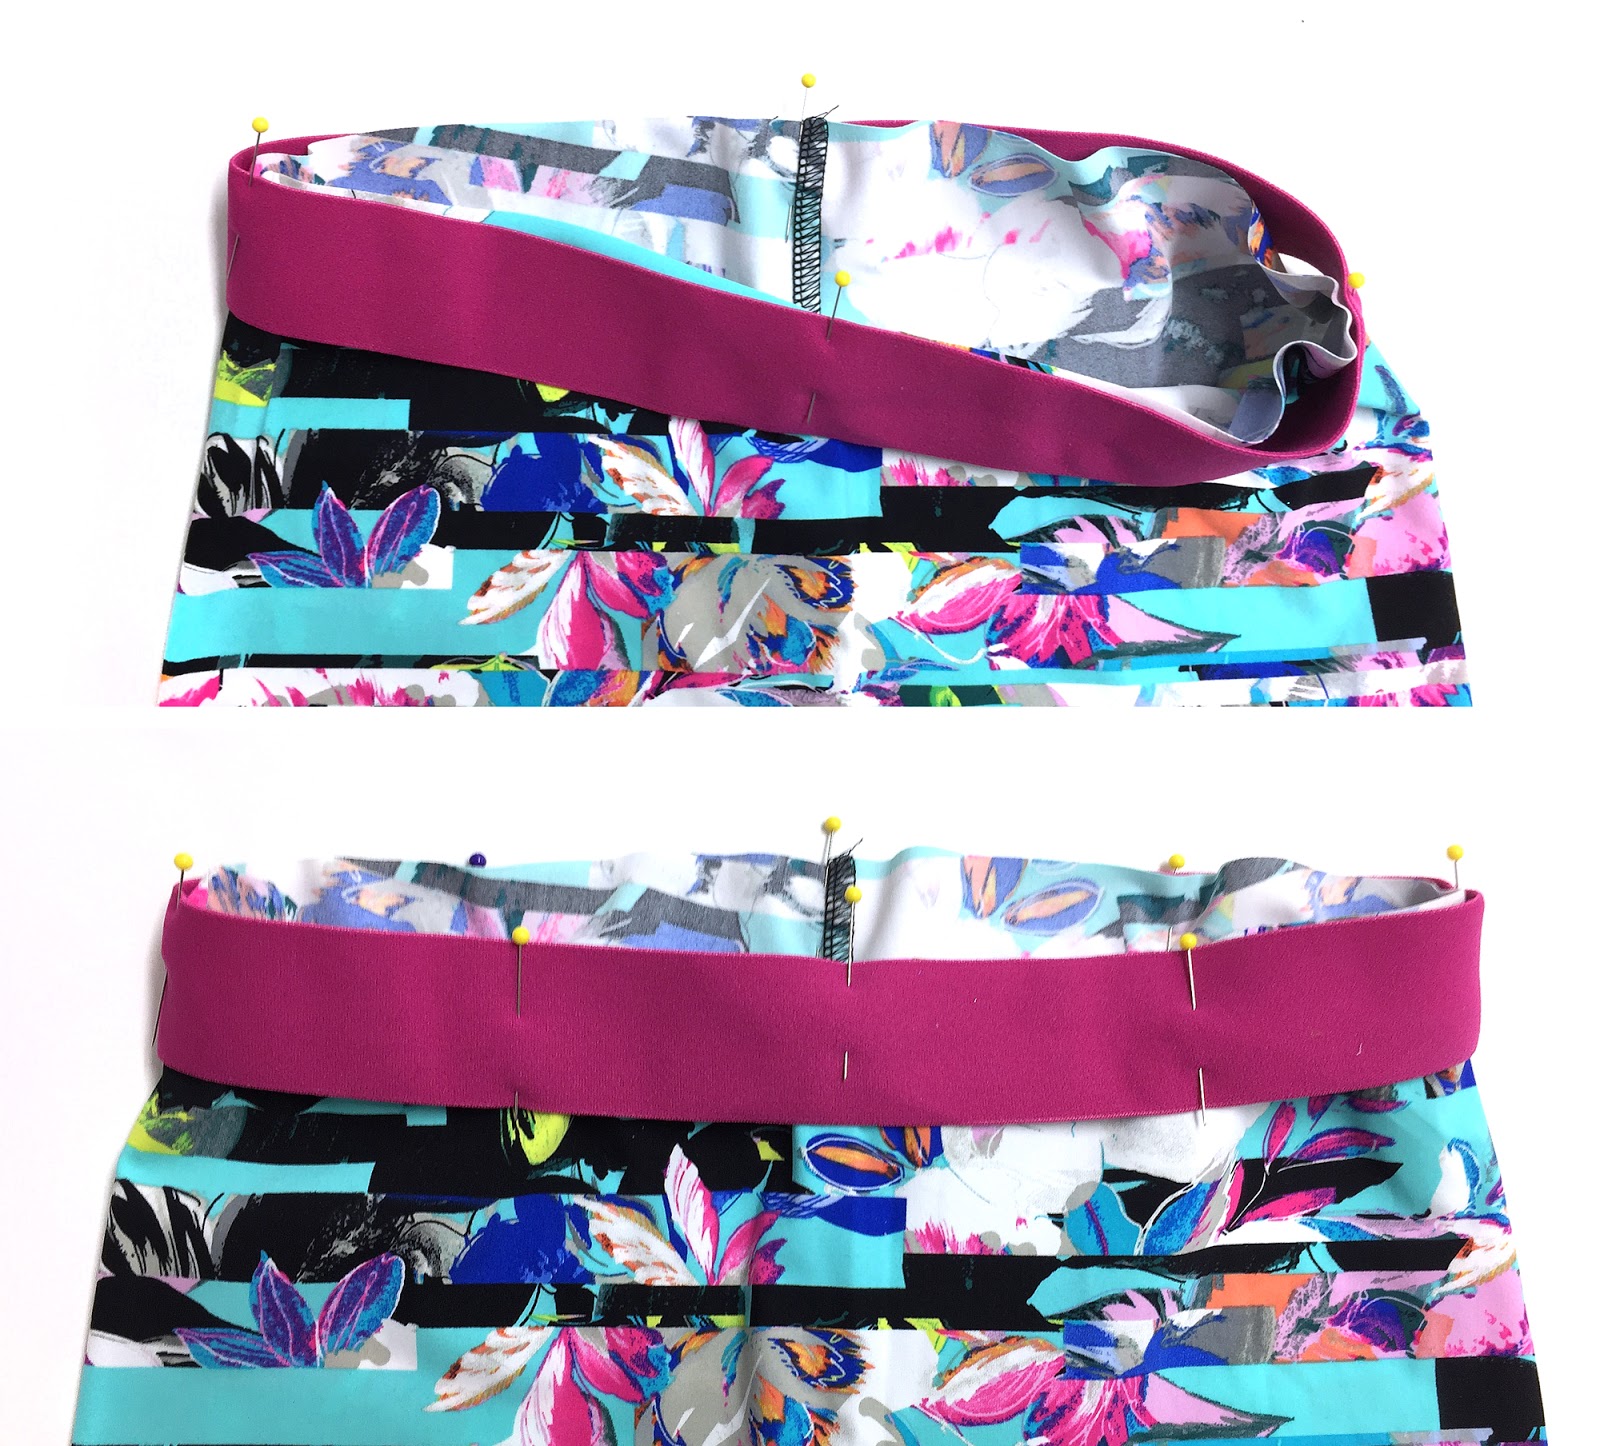
Stitch on the elastic, along its bottom edge. You can use a zigzag stitch or cover stitch (or double needle) if you don't like the look of zigzags. Stretch the elastic between the pins so the fabric is flat against it. DO NOT stretch the fabric.
Trim the fabric along your stitch. Your done!
 Here are quick links to the patterns mentioned in this post with which you can use this technique:


- 3355 Sweatpants
- 3885 GERALD Men's Underwear
- 3242 Women's underwear
- 3887 Clara leggings (view B), 2920 leggings
- 2681 Pull-on knit skirts
- 3027 Tights and spiral skirt
- 3025 Skating / Dance skirts
- 3247 Crop Tops and Shorts

← 3242 / Mens trunk underwear / Video Tutorial The story behind the Marie-Claude Pattern →