 Skip to content


MICHELLE // Strap Adjustment
In the previous post, we explained how to adjust the Michelle pattern for a full bust. If you often do upper bodice adjustments when making tops (shoulders, bust height), you might need to adjust the straps on the Michelle. In this blog post, we will show you how to adjust the straps for armholes and neckline that sit exactly where you want them to.
To make photos easier to understand, we used a navy fabric for the front, yellow for the back.
DO I NEED TO ADJUST THE STRAPS?
Your garment might fit as is but you might need to tweak it if:
- Your neckline and armhole are too low / too high
- If one of your shoulders is higher than the other
Start by unpicking the shoulder seam. Then, put on the tank and have someone pin the straps in the optimal spot, keeping a neutral body position. It is very likely that the adjustment will be different from one shoulder to the other. That's totally normal. If you need to lengthen, don't worry, there is already an extra 3 cm (1 1/4'') at the shoulder planned in the design!
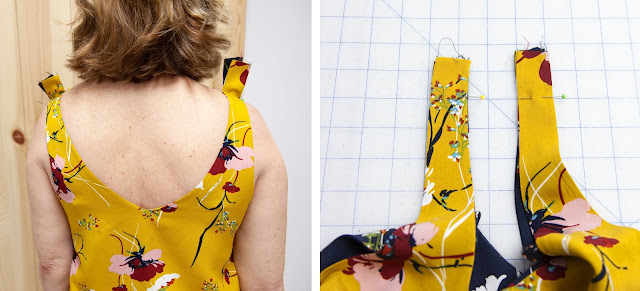 The perfect alteration will bring the neckline at a reasonable place (not too much clivage, but enough to be flattering) and the armhole should just cover your bra. Be careful not to pull too much. That would cause other fitting issues.
MARK THE FINAL SEAM LOCATION
Take off the tank. Mark the pin location on front and back straps, left and right. This will be your new shoulder seam.
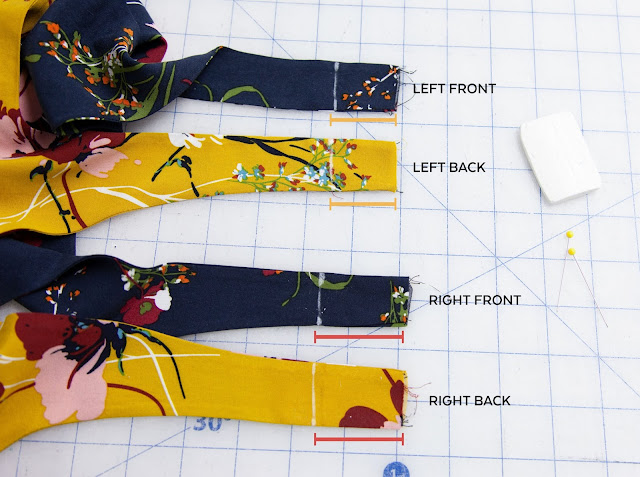 |
| Different adjustment left and right / Same adjustment front and back |
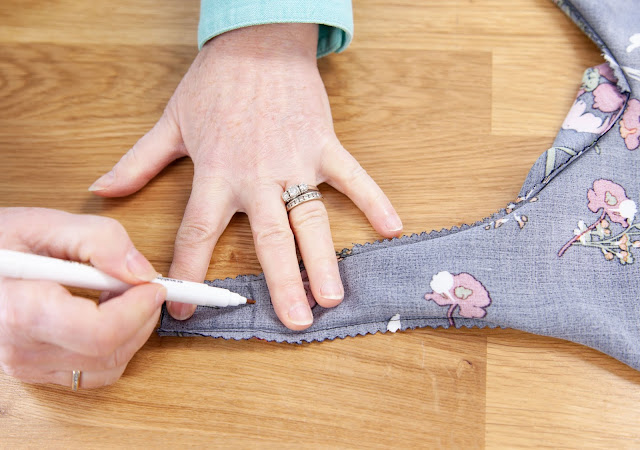
Turn front straps wrong side out and transfer the seam location to the wrong side.
SEW THE NEW SHOULDER SEAM
Insert back straps into front straps, using a safety pin or long hook. Pull until the ends are aligned.
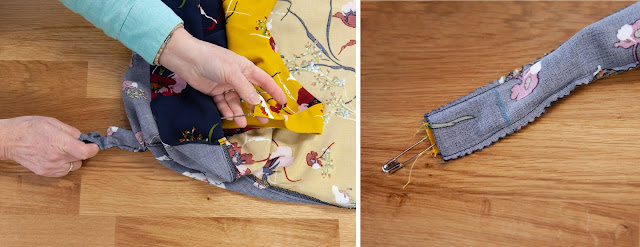
Pin, press straps flat and stitch on the seam line your marked earlier. Trim the seam allowance to 1 cm (3/8'').

Turn right side out and press.

Happy sewing!
← Different Fabrics, Different Tops & Dresses - MICHELLE & ADÈLE How to unpick a serger seam / Video tutorial →